
Antennino: The Open-Source Wireless Module for Creative IoT Projects
In the evolving world of the Internet of Things (IoT), open-source hardware has become a driving force behind innovation, experimentation, and community-driven learning. Among the tools empowering creators, Antennino stands out as an open-source wireless module designed to simplify IoT prototyping and connectivity. Built for creativity and flexibility, Antennino bridges the gap between electronic hobbyists, educators, and professional developers who want to design efficient, low-power, and wireless-connected devices.
This article explores Antennino in depth—its origins, structure, core features, applications, and how it supports creative IoT development without commercial restrictions.
What Is Antennino?
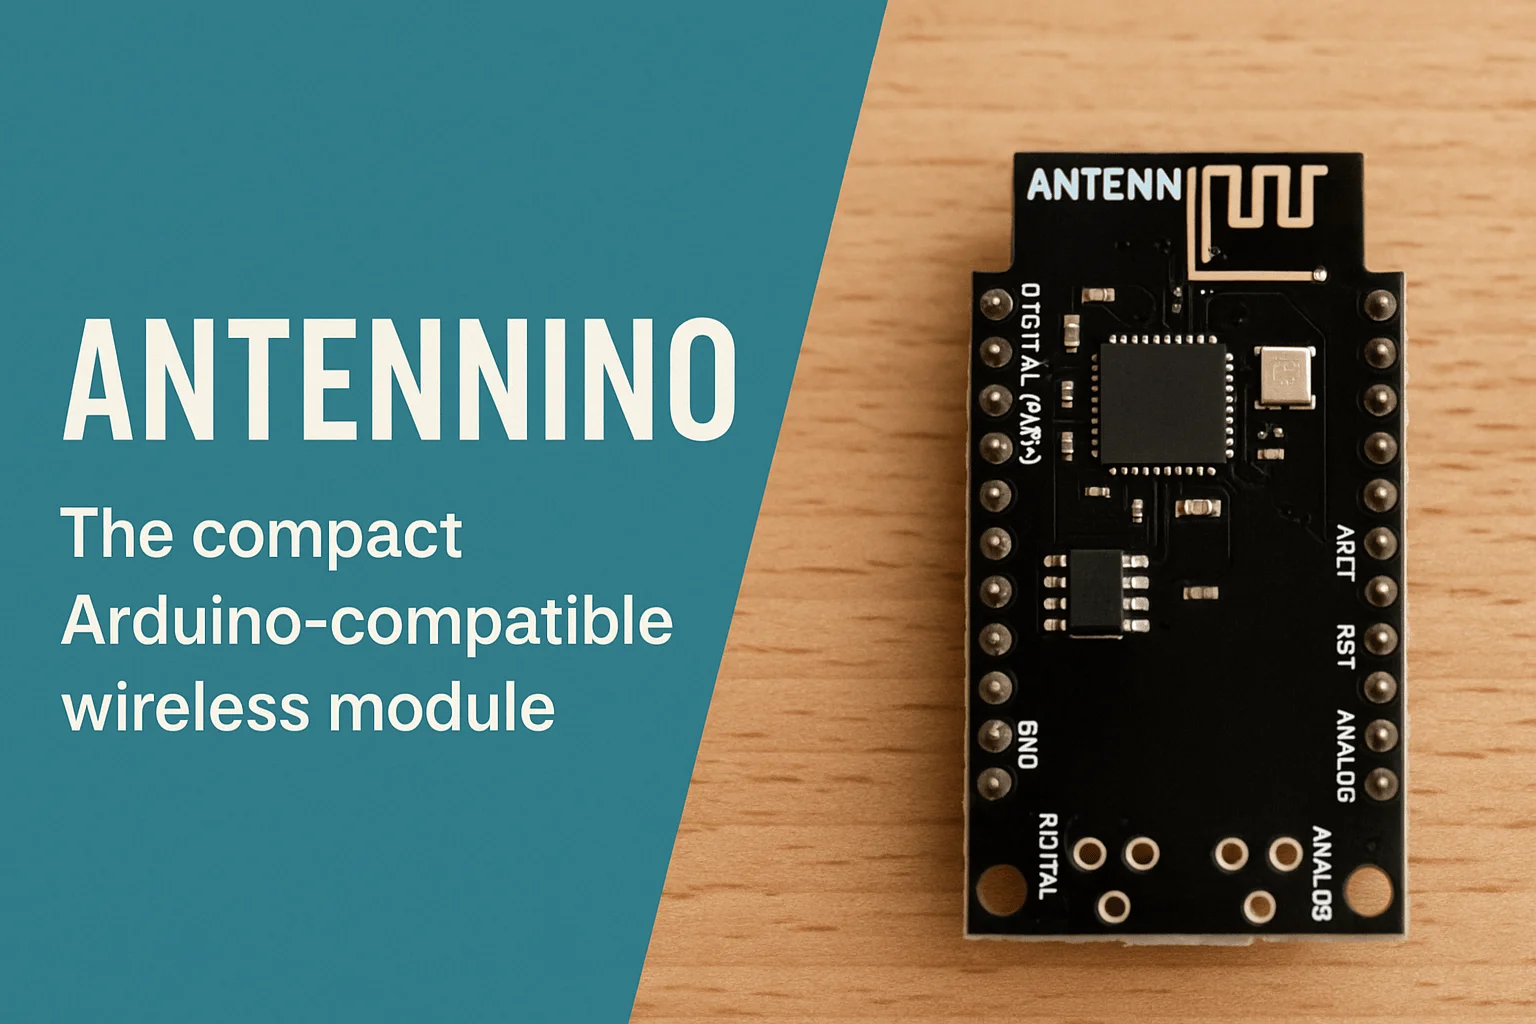
Antennino is an open-source wireless module developed as a compact, low-power platform for connecting sensors, actuators, and devices wirelessly. It combines the flexibility of Arduino-based microcontrollers with radio modules to enable seamless data transmission between nodes in a network.
At its core, Antennino is designed to be:
-
Low-power, suitable for battery-operated IoT devices.
-
Wireless, using radio communication to eliminate the need for physical wiring.
-
Open-source, allowing full access to hardware designs and software code.
By combining these principles, Antennino empowers developers to design smart systems—from environmental sensors to home automation networks—without relying on proprietary technologies or closed-source systems.
The Origin and Purpose of Antennino
Antennino was created to address a common issue in the IoT maker community: the complexity and cost of building reliable wireless communication systems. Traditional modules often require extensive configuration or expensive components. Antennino simplifies this by offering a ready-to-use, open, and flexible solution that can be easily customized.
Its design philosophy revolves around three main goals:
-
Accessibility – Anyone, regardless of experience level, can use Antennino to start building IoT devices.
-
Community-driven innovation – Being open-source, users can modify, share, and improve both hardware and software.
-
Sustainability – The module is optimized for low energy consumption, extending battery life for months or even years in certain applications.
This combination of accessibility, collaboration, and energy efficiency makes Antennino a standout solution for creators who value freedom and experimentation.
Key Features and Technical Overview
Antennino’s design is carefully engineered to support a wide range of creative IoT use cases. Its features reflect a balance between performance and simplicity:
1. Microcontroller Compatibility
Antennino is compatible with popular microcontrollers, particularly those based on ATmega328P, which is the same chip used in Arduino Uno. This ensures easy programming using the Arduino IDE—a familiar environment for most hobbyists.
2. Wireless Communication
The module integrates radio transceivers that enable communication between devices over long distances. It supports low-power wireless networking suitable for sensor nodes, remote controllers, and mesh networks.
3. Open-Source Design
Both the hardware schematics and firmware are openly available. This transparency enables users to modify the design, add new features, or adapt it to their specific needs.
4. Energy Efficiency
Power consumption is a major concern in IoT applications. Antennino’s architecture minimizes current draw, making it ideal for projects that rely on coin cells or AA batteries.
5. Flexible I/O Options
It provides multiple input and output pins for sensors, actuators, and communication peripherals. This flexibility supports projects ranging from data logging to environmental sensing.
6. Compact and Modular Build
Antennino’s small form factor makes it easy to embed into prototypes or small enclosures, perfect for compact IoT designs.
How Antennino Supports Creative IoT Projects
Antennino’s open architecture and ease of use make it an excellent foundation for innovative IoT applications. Whether for education, research, or personal experimentation, it enables creators to design connected systems quickly.
1. Prototyping and Experimentation
Developers can easily test ideas using Antennino’s Arduino compatibility. It simplifies programming, reducing barriers to entry for students and beginners exploring wireless networking and sensor integration.
2. Wireless Sensor Networks (WSNs)
Antennino can serve as a sensor node or gateway in distributed wireless systems. Its low-power operation allows deployment in remote or inaccessible areas where wired solutions are impractical.
3. Environmental Monitoring
Using Antennino, users can build systems to track temperature, humidity, or air quality. Its wireless capability allows sensors to transmit data to a central hub without cabling.
4. Smart Home Prototypes
It’s ideal for home automation experiments such as light control, motion detection, or smart irrigation. Antennino modules can communicate securely within a private home network.
5. Educational Applications
In classrooms and workshops, Antennino helps students learn about wireless communication, embedded systems, and open-source collaboration. It provides an affordable, hands-on platform for STEM education.
Advantages of Using Antennino
Antennino’s benefits go beyond affordability and openness. Below are some of its key advantages:
-
No licensing restrictions – Full access to design files and code.
-
Community support – Backed by makers who actively share improvements.
-
Adaptability – Compatible with various sensors and wireless modules.
-
Low maintenance – Energy-efficient systems that require minimal servicing.
-
Scalability – Suitable for single-device projects or large networks of nodes.
Each of these advantages supports creative, long-term IoT development while reducing the need for proprietary hardware dependencies.
Challenges and Limitations
While Antennino is a powerful tool, understanding its challenges helps users set realistic expectations:
-
Limited processing power compared to high-end boards.
-
Requires some electronics understanding for complex applications.
-
Range limitations depending on the antenna design and environment.
-
Manual assembly may be required in DIY setups.
Despite these limitations, the open-source nature of Antennino allows developers to continuously improve its design and overcome these challenges collaboratively.
Real-World Applications of Antennino
Antennino has been successfully adopted in several real-world experimental setups and educational projects. Some common applications include:
-
Agricultural Monitoring Systems – Measuring soil moisture, light exposure, and environmental temperature across fields.
-
Smart Energy Management – Monitoring electricity usage in homes and offices to optimize energy efficiency.
-
Industrial Safety Networks – Deploying wireless sensors to detect gas leaks or abnormal vibrations in factories.
-
Remote Weather Stations – Collecting and transmitting meteorological data from distant locations.
-
IoT Art Installations – Enabling interactive art pieces that respond to environmental changes or audience movement.
These examples demonstrate how Antennino serves as both a technical and creative enabler for IoT enthusiasts.
Step-by-Step: Building Your First Antennino Project
For those new to Antennino, creating a simple IoT project can be both educational and rewarding.
Step 1: Gather Components
You’ll need an Antennino board, a compatible sensor (e.g., temperature or motion), a power source, and basic connecting wires.
Step 2: Set Up the Environment
Install the Arduino IDE on your computer and ensure that the board configuration for Antennino is available.
Step 3: Write and Upload Code
Use simple Arduino sketches to collect sensor data and transmit it wirelessly. Example sketches are often available in community repositories.
Step 4: Deploy and Test
Place your Antennino-based device in the desired location and monitor the transmitted data using a receiver module or serial monitor.
This process helps users learn how data flows within IoT systems while exploring Antennino’s open framework.
Security and Privacy Considerations
Since Antennino-based systems communicate wirelessly, ensuring data integrity and security is crucial. Although Antennino does not inherently include encryption hardware, developers can implement:
-
Software-based encryption for transmitted data.
-
Authentication protocols between nodes.
-
Secure coding practices to minimize vulnerabilities.
These steps protect user data and uphold the reliability of IoT ecosystems built using open-source technologies.
The Role of the Open-Source Community
One of the strongest aspects of Antennino’s success is its open-source community. Developers worldwide contribute improvements, share project blueprints, and document best practices. This collective knowledge fosters collaboration and continuous enhancement.
The open-source model ensures that Antennino remains adaptable to new IoT standards and evolving hardware trends. Users are encouraged to participate by sharing their designs or proposing modifications to improve future versions.
FAQs
1. What makes Antennino different from other IoT modules?
Antennino is fully open-source, energy-efficient, and easy to program using the Arduino environment, unlike many commercial modules that are proprietary.
2. Can Antennino be used for long-range communication?
Yes, within limits. The range depends on the radio module and antenna configuration used in the project.
3. Is Antennino suitable for beginners?
Absolutely. Its Arduino compatibility and supportive community make it ideal for newcomers learning IoT and wireless communication.
4. How does Antennino save power?
It uses low-power components and sleep modes, which significantly reduce energy usage in battery-powered systems.
5. Can Antennino be used in professional IoT applications?
While primarily designed for learning and prototyping, Antennino can be integrated into small-scale or experimental professional setups.
6. Is Antennino’s source code available publicly?
Yes. Both the hardware schematics and firmware are open-source, allowing users to modify or expand upon them.
Conclusion
Antennino represents the essence of open-source innovation in the IoT landscape. By providing a platform that merges affordability, flexibility, and transparency, it empowers creators to design and explore connected systems without restrictions. Whether for education, experimentation, or research, Antennino continues to inspire developers to push the boundaries of what open-source hardware can achieve.